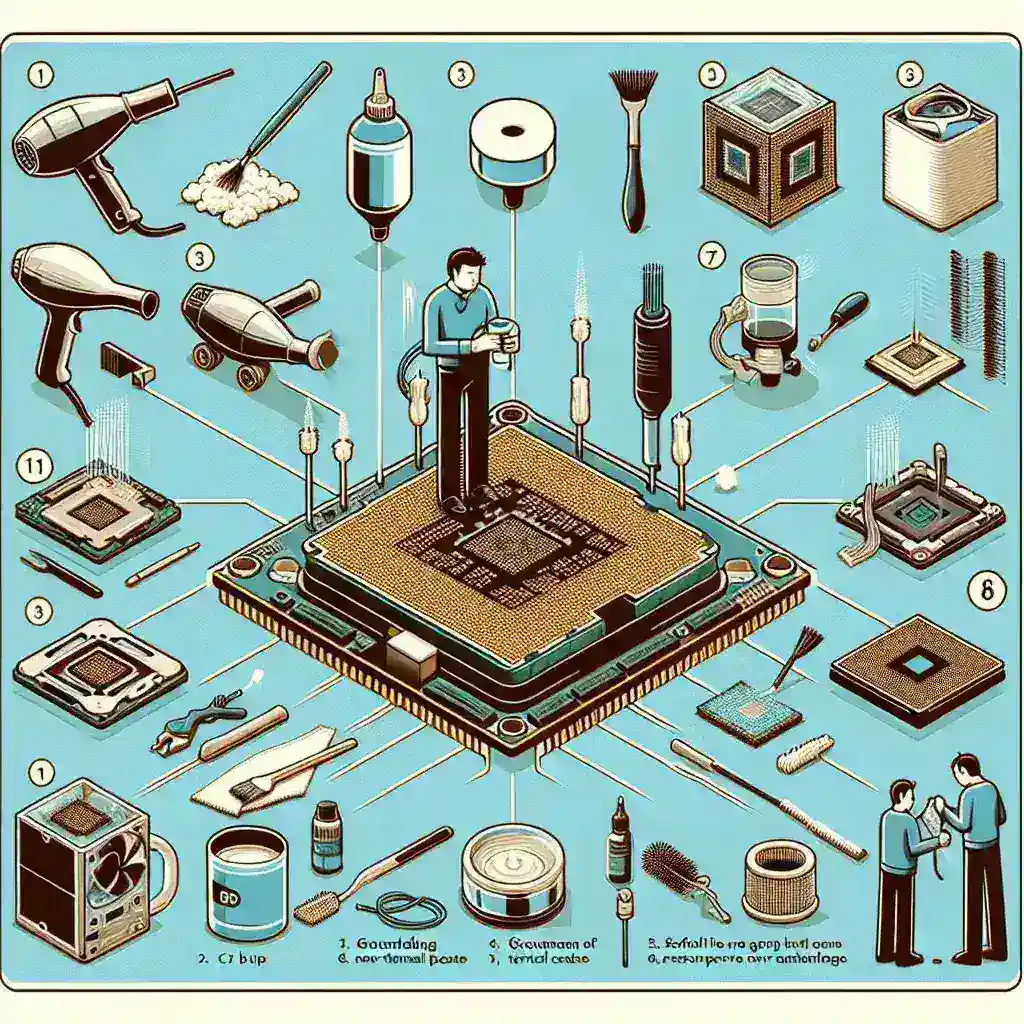
Cleaning and maintaining your CPU (Central Processing Unit) is crucial to ensuring that your computer runs smoothly and efficiently. Dust and debris can accumulate over time, leading to overheating and potential damage to your processor. Regular maintenance can extend the lifespan of your CPU and keep your system running at optimal performance. This guide provides a step-by-step approach to cleaning and maintaining your CPU.
Why Cleaning and Maintenance Are Important?
Before diving into the steps, it’s important to understand why cleaning and maintaining your CPU is essential.
- Prevents Overheating: Dust and dirt can obstruct airflow, leading to increased temperatures, which may cause thermal throttling or permanent damage.
- Improves Performance: A clean system ensures that your CPU can perform at its best without being bogged down by excessive heat or debris.
- Extends Lifespan: Regular maintenance helps to prolong the life of your CPU and other computer components.
Tools and Materials Needed
Ensure you have the following tools and materials before starting the cleaning process:
- Compressed air can
- Soft brush
- Isopropyl alcohol (90% or higher)
- Lint-free cloth
- Thermal paste
- Small screwdriver
- Anti-static wrist strap
Step-by-Step Guide to Clean and Maintain Your CPU
1. Prepare Your Workspace
Choose a clean, well-lit workspace. Lay down an anti-static mat and wear an anti-static wrist strap to prevent static electricity from damaging your components.
2. Power Down and Unplug
Turn off your computer and unplug it from the power source. Press the power button for a few seconds to discharge any remaining electricity.
3. Open the Computer Case
Use a screwdriver to remove the screws on the side panel of your computer case. Carefully set the panel aside.
4. Remove the CPU Cooler
The CPU cooler is typically attached to the top of the CPU. Disconnect any power cables, then loosen the screws or clips holding it in place. Gently lift the cooler off the CPU.
5. Clean the CPU Cooler
Use a can of compressed air to blow dust out of the fan and heatsink. Use a soft brush for any stubborn dirt. Ensure the cooler is completely clean before reattaching it.
6. Clean the CPU Surface
Carefully clean the surface of the CPU with a lint-free cloth dampened with isopropyl alcohol. Make sure to remove any old thermal paste.
7. Apply New Thermal Paste
Apply a small, pea-sized amount of thermal paste to the center of the CPU. This will help ensure proper heat transfer between the CPU and cooler.
8. Reattach the CPU Cooler
Carefully place the CPU cooler back on top of the CPU, aligning it with the mounting holes. Secure it in place with screws or clips and reconnect any power cables.
9. Clean the Interior Components
Use compressed air to blow dust out of the other components inside your computer case, including the power supply, GPU, and RAM.
10. Close the Computer Case
Once everything is clean and reassembled, replace the side panel and secure it with screws.
11. Power On and Test
Plug your computer back into the power source and turn it on. Ensure that all components are functioning correctly and that the CPU temperature is within a normal range.
Maintenance Tips
- Regular Cleaning: Aim to clean your CPU and other components every 3-6 months.
- Monitor Temperatures: Use software tools to keep an eye on your CPU temperatures and fan speeds.
- Proper Airflow: Ensure that your computer case has adequate airflow by keeping cables organized and using additional fans if necessary.
- Quality Thermal Paste: Invest in high-quality thermal paste for better heat transfer.
Conclusion
Cleaning and maintaining your CPU is a relatively simple process that can significantly impact the performance and longevity of your computer. By following the steps outlined in this guide, you can ensure that your CPU remains in top condition, preventing overheating and ensuring optimal performance. Regular maintenance is key to keeping your system running smoothly and avoiding costly repairs or replacements in the future.

